This is more house keeping, as I put together my documentation for 12th Night, but I needed somewhere to post info.
Budgetwise I was rather surprised. I totally ignored budget, intending to sacrifice some accessories upon the sacrificial altar and exchange their points for not having to worry about it. From the
rules "If your expenses are over $100, you will be penalized 1 point for every $10 over $100." One extra accessory is worth 10 points, so following that out to its conclusion, if you make one extra accessory and are willing to not get any of its points that gives an additional $100. If you were to use an entirely new talent and get all 10 of those points you could get $200 (or more, depending on how many new talents used) from the accessory. So, for example, my shoes are Costuming:Footwear and therefore a new category. They have wet felted insoles and felt lining Textile Arts:Non-woven, are Leatherwork:functional, and have leather applique Leatherwork:Decorative. The applique is of my heraldic badge Heraldic Display: clothing. So, conceivably, the slippers could come out to 60 points on their own and give me an extra $600 to play with. Granted, that's probably silly and I wouldn't get the full points, but looking at it that way it seems totally worth it to make an interesting accessory and not worry about budget. It more than pays for itself.
I originally planned to just have "budget accessories" where I didn't bother to calculate the points and gave up the points to create a budget pool that I couldn't possibly spend. I got curious yesterday though and I calculated the budget just to see since I'd ended up using so much stash materials. My total was $107.67. So, I actually only have 1 penalty point.
Granted, as my husband points out, when I went shopping for the things I used in the dress I spent a lot more than that. For example there was the trip yesterday to JoAnn's for a hook and eye for the skirt. I did not in fact end up needing the hook and eye once the dress was laced so its not in the final budget tally. I did buy hook and eyes, however. They also had their clearance fabrics 50% off and there was this gorgeous gold cotton with the perfect Venetian pattern. I came home with a little over 11 yards at $4.50 a yard. And a quilted red for a petticoat to go with it. And some more sewing machine needles. And a new pair of scissors since my good ones got used for wrapping paper cutting. So the $0 cost to my dress budget wasn't actually $0. I spent $108. Gandhi feels that should be included in the budget. I, on the other hand, am pleased with my new stash fabrics that need to cure a bit in stash before being used.
If you are bored enough to read the budget breakdown, here it is.
Layers-
Skin layer- White linen camicia. Pieces all machine sewn and then assembled by hand with an insertion stitch. Hand pleated. Cost $0. Traded massage for 5 yards of white linen. Threads from stash. Pearl buttons from stash.
Main garment-Dress. Blue and orange patchworked silk. patchwork by machine and interior long seams are machine sewn. All pieces are hand finished and whipstiched together. Cost $39.47. 6 yards of blue silk purchased for $5 a yard. Plastic boning material purchased for $8. Buttonhole thread used for cartridge pleating purchased for $1.47. Orange silk from stash. Wool felt from stash. Grey twill used for lining, interlining, and boning layers from stash. Thread from stash. Sleeves and baragoni were not completed by deadline.
Warmth layer- Mantellina. Brown velvet lined in brown shearling with a decorative lining of copper dupioni silk. Entirely hand sewn. Cutwork, fur use, and pearl beading. Cost $0. Traded massage for shearling hide. Silk, pearls, threads, and velvet all from stash.
Accessory- Peacock feather fan. Wood handle constructed from purchased wooden table leg turning, pressed wood decorative filigree and wood putty. Pad of fan is made from leather. Peacock feathers are stitched and glued into place. Handle was painted, gilded and enhanced with metal filigree, pearls, paua shell, and blue beads. Cost $28.50 $20 for 100 peacock feathers, $5 for the table leg and $3.50 for the filigree wood pieces. Gold leaf, white paint, wood putty, leather, filigree, paua shell, and other beads from stash.
Additional garments and accessories
1.Gold coverciere/partlet Purchased fabric hand hemmed. Cost $4 for 1/2 yard of fabric. Thread from stash.
2.Salmon linen petticoat with chestnut linen lining. Corded with green ribbon accent. Hand sewn eyelets. Machine sewn and hemmed with hand cartridge pleating. Cost $0. All materials and threads from stash.
3.Blue linen drawers with embroidered cuffs trimmed in lace and buttons. Entirely machine sewn. Cost $0. Material, buttons trim, lace and threads from stash.
4.Particolor leather slippers. Blue and tan leather slippers with heart applique with hard interior leather sole. Lined in wool. Machine sewn. Cost $0 Leather and wool from stash
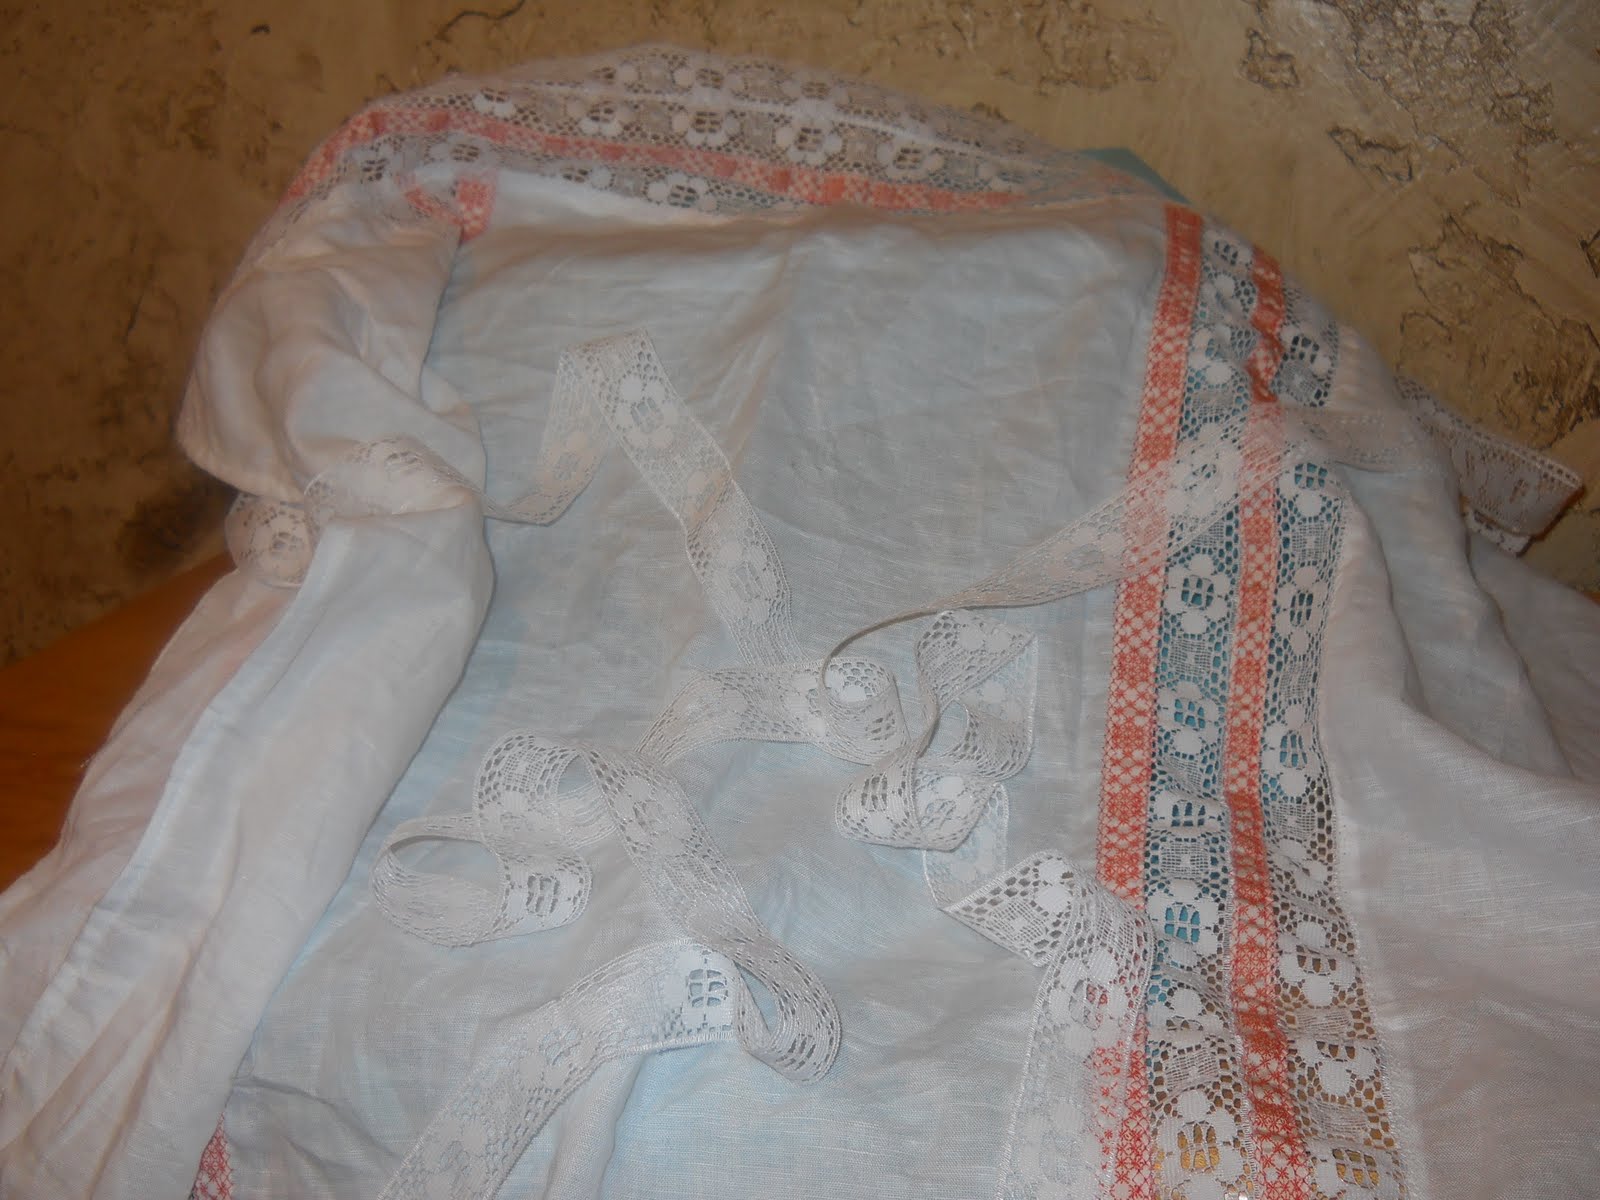
5.White linen stockings with lace cuffs. Cost $0 Lace from stash, linen remnants of traded length from camicia. Machine sewn with hand finishing.
6.Blackwork garters with buckles and tassels. Cost 20 cents Tangerine silk from IRCC prize. Buckles traded for massage. Aida bands purchased as a large lot from the thrift store for $2 (100 yards. I used 2 yards.)
7.Orange silk saccocia lined in navy blue linen trimmed in orange and metallic trim. Cost $0 materials and trim from stash
8.Rosary of gold beads with filigree dangle and bow finial. Strung on black silk. Cost $0. All materials from stash
9.Fur lined muff with pearl buttons.. Cost $7. Vintage chincilla stole from stash cut for fur. Purchased fabric for outer. Trim from stash. Pearls from stash. threads from stash
10.Tasseled bag with purse weight. Cost $7 purchased fabric. Purse weight from stash. Chain from stash. Tassels made from fringe for parasol. Lined with scrap silk.
11.Nosegay from flowers I grew/dried/ or made. Cost $0
12. Jewel sculpted from polymer clay and gilded. Cost $0 Sculpy from stash, gold leaf from stash, acrylic gems from stash, chain and clasp from stash.
13. Comb carved from wood painted and gilded. Cost $0 Wood scavenged. Painting supplies and gold leaf from stash.
14. Blue and gold girdle. Cost $0 Blue beads and gold plaques from stash.
15. White apron with orange accents. Cost $0 White linen scrap. Lace and trims from stash.
16.Pearl drop earrings. Cost $3. Leverbacks and blue beads from stash. Purchased glass teardrop pearl strand for $3
17. Pearl necklace. Cost $0 Freshwater pearls, wire, and clasp from stash.
18. Pearl girdle with tassel Cost $7 for purchased tassel. Wire, gold plaques and freshwater pearls from stash.
19. Paper and filigree flag fan. Cost $0. Wood handle, metal filigree bits, pearls, paint, and Bristol board from stash.
20.Chainmaille bracelets Cost $0 10mm jumprings and filigree clasps from stash.
21. Turban. Cost $0 Copper silk and cotton fringe from stash
22. Gold and blue hair ornament Cost $0 Wig clips, beads and plaques from stash
23. Ghirlandia Cost $0 Wool yarn curled over a wool base with copper tone ribbons.
24. Silk sash (poste) with cast pewter terminal decorations and tassels. Cost $0? I used the pewter castings I made of my heraldic badge at Collegium adding enamel paint. Copper silk hand hemmed from stash. Tassels made of cotton floss from stash.
25. Handkerchief. Cost $0. Scrap linen with purchased lace inserts.
26. Zibellino Cost $0. Materials purchased before start of contest. Fur with sculpted polymer clay head with filigree and bead accents.
27. Chopines Cost $0. Scrap wood from my father. Leather, trim, and upholstery nails purchased from project before contest started.
28. Street veil with tassels Cost $0 Black cotton gauze from stash. Tassels made from crochet cotton. Trim hand made of gold and black crochet cotton from stash.
29. Parasol with fringe Cost $6.50 Purchased umbrella frame for $5. Fringe purchased for $1.50 from thrift store. Other materials from stash
30. Blue leather gloves Cost $0 Traded massage for pigskin.
31. Zimarra Cost $0 Fabrics from stash. Buttons and trims made from crochet cotton in stash.
32. Walking sticks Cost $5 for dowels. Paint, beads, and other materials from stash
33. Blue and orange with gold pincushion. Cost $0 Materials in stash
34. Larva mask. Cost $0 Molded from buckram in stash, covered in stash fabric with ribbons and paint from stash.
35. Accordoletta. Silk fingerloop braids adapted for braiding on the marudai Cost $0 Silk threads from IRCC prize.
Total cost $107,67


